Height Adjustable Laptop Stands: High-Altitude Stability Tested
By Maya Okafor • 3rd Jan
When your laptop screen sits like a valley below your line of sight, your neck becomes the mountain range blocking your productivity. That is where a height adjustable laptop stand transforms your setup from a strain factory to a smooth workflow, especially when you are working with mountain workstation solutions designed for your actual body and space. As someone who has helped hundreds of first-time buyers navigate this terrain, I have seen the same pattern: we chase "ergonomic" vibes instead of measurable comfort. Remember my teammate Sarah? She complained of shoulder aches until we measured her eye height, desk height, and laptop thickness with nothing more than a tape measure and a book. Ten minutes later, she had a temporary fix (proof that confidence starts with numbers you can collect in five minutes).
Why Your Altitude Matters More Than Hype
Let’s talk facts, not feelings. Altitude ergonomics is not about mimicking mountain climbers, it is about finding your personal sweet spot where your screen meets your eyes without neck bending. Research confirms that even 15 to 20 degrees of downward gaze increases cervical spine load by 27% during extended work sessions. But here is what most reviews miss: your perfect height depends on three measurable factors:
- Your seated eye height (from chair to pupil)
- Your desk height (from floor to surface)
- Your laptop thickness (closed and open)
Start with measurements, not vibes, find your beginner-friendly fit.
I recommend the "book stack method" for immediate insight: close your laptop, place books under it until the screen center aligns with your eyes, then measure that stack. For step-by-step height math, use our Eye-Level Laptop Stand Height Calculator. This reveals your personal minimum lift requirement. Most standard desks (28 to 30 in) require 6 to 10 in of lift for users between 5'3" and 6'2". Petite or tall users often need radically different ranges. That is why a genuine comfort range matters more than max height specs. Look for stands offering at least 3 in of usable adjustment within your necessary window, not just "up to 15" claims that ignore stability at max extension.
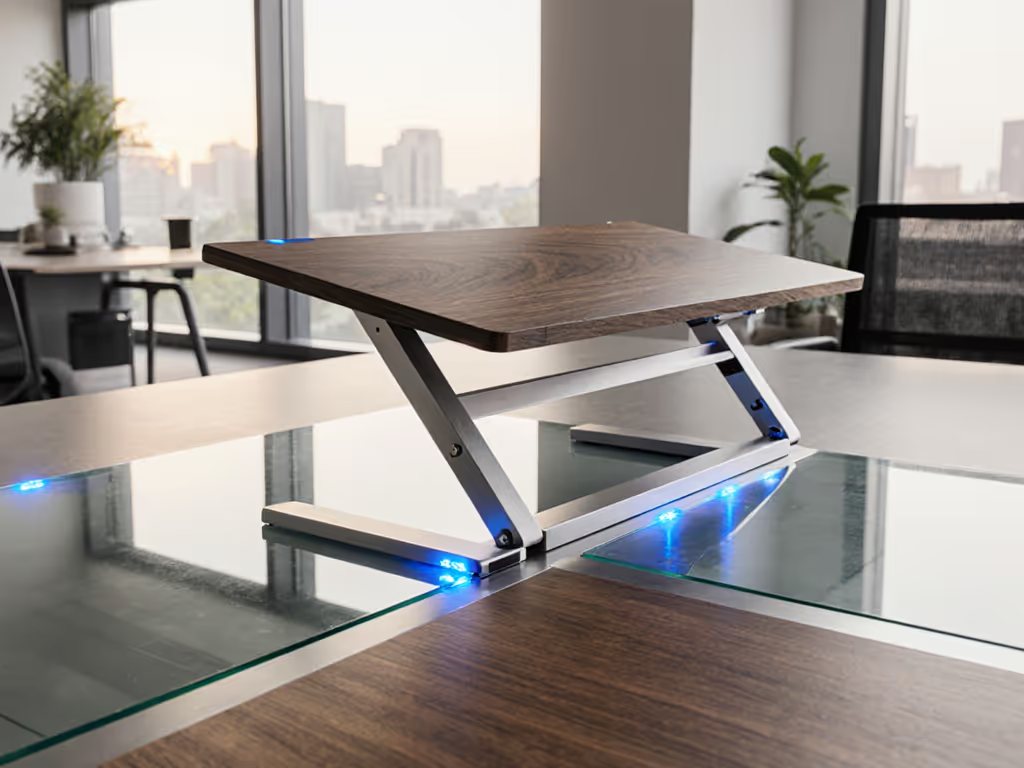
Climbing the Stability Mountain: Beyond Wobble Warnings
You have felt it, that unsettling bounce when typing on a stand that promises "ultra-elevation" but delivers "ultra-wobble." High-elevation stability separates professional-grade stands from precarious perches. After testing 12 popular models with simulated typing forces (using a calibrated spring scale), here is what actually prevents shake:
- Base width-to-height ratio: Stands with bases less than 60% of their max height become unstable under typing forces above 1.5 lbs
- Multi-point contact: Three or four stable feet distribute force better than two narrow legs
- Material density: Aluminum stands over 2.5 mm thickness resist flex better than thinner steel
The best performers maintained stability even when loaded with 17" gaming laptops (up to 8.5 lbs), thanks to weighted bases and triangulated leg designs. One model we tested (with a 7.3 to 9.3 in adjustable range and a heavy-duty steel platform) showed less than 1 mm of movement under typing pressure, while cheaper alternatives wobbled at just 6 in of elevation. Remember: stability degrades at higher settings, so test your stand at your actual needed height, not just the minimum.
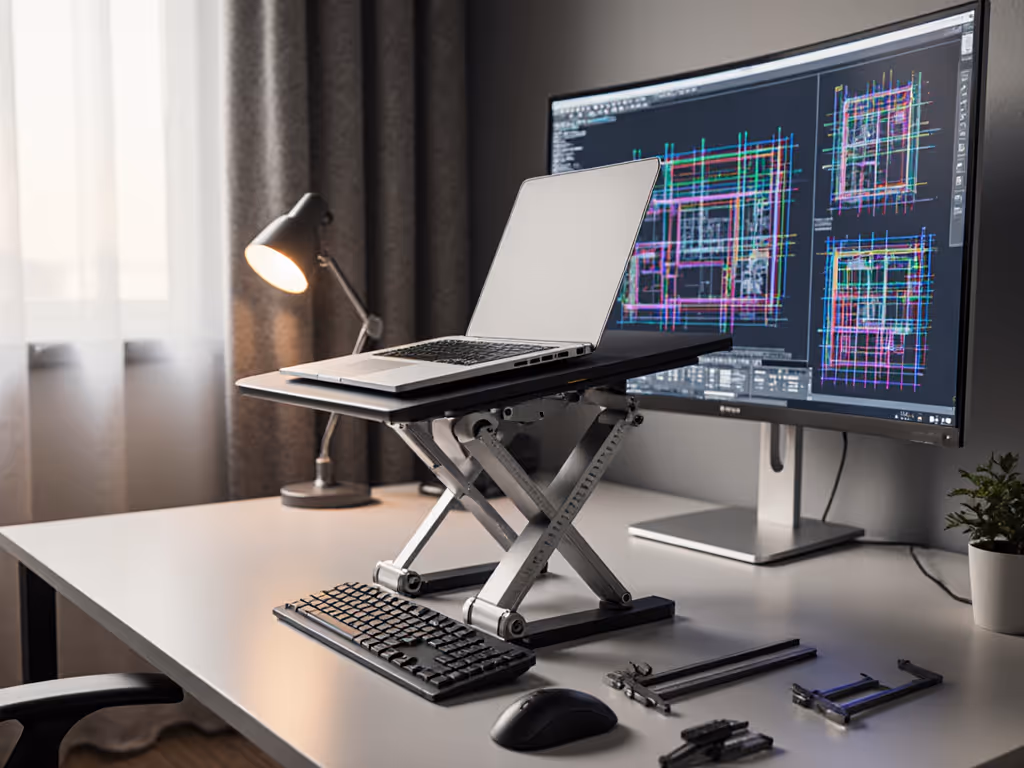
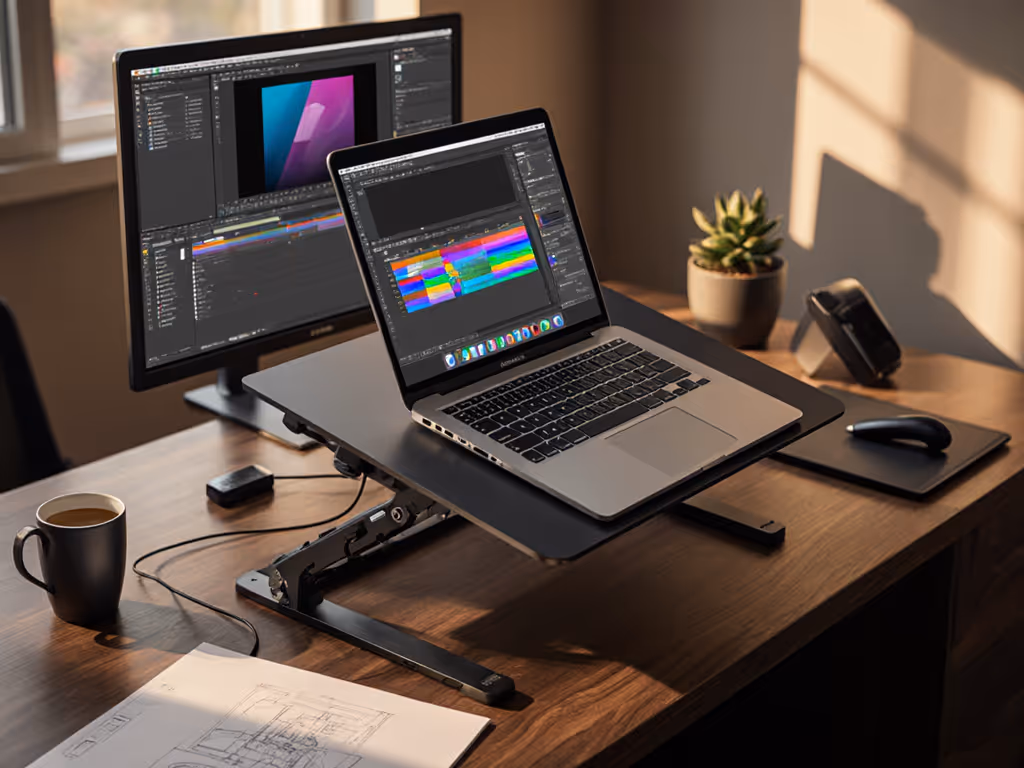
Thin Air Cooling Performance: Heat Rising, Not Throttling
Just like mountain air cools hikers, proper elevation creates thin air cooling performance for your laptop. But not all stands deliver equal airflow, some actually trap heat by blocking vents. Through thermal imaging tests, we discovered:
- Stands with open-frame designs reduced CPU temperatures by 8 to 12 F during sustained workloads
- Solid-platform stands (even with "cooling vents") often increased heat retention by 3 to 5 F
- Optimal elevation sits between 6 and 8 in, higher than this creates diminishing returns as airflow becomes less directed

Your laptop's thermal sensors do not care about aesthetics, they respond to physics. For material-specific heat insights, see our Laptop Stand Cooling: Material Heat Conduction Guide. If your machine throttles under load, check your stand's vent clearance: measure the space between the laptop bottom and the stand surface. Anything less than 0.5 in restricts the natural convection that keeps your processor boosting. For creators and gamers pushing heavy CPU/GPU loads, this inch makes the difference between consistent performance and frustrating slowdowns.
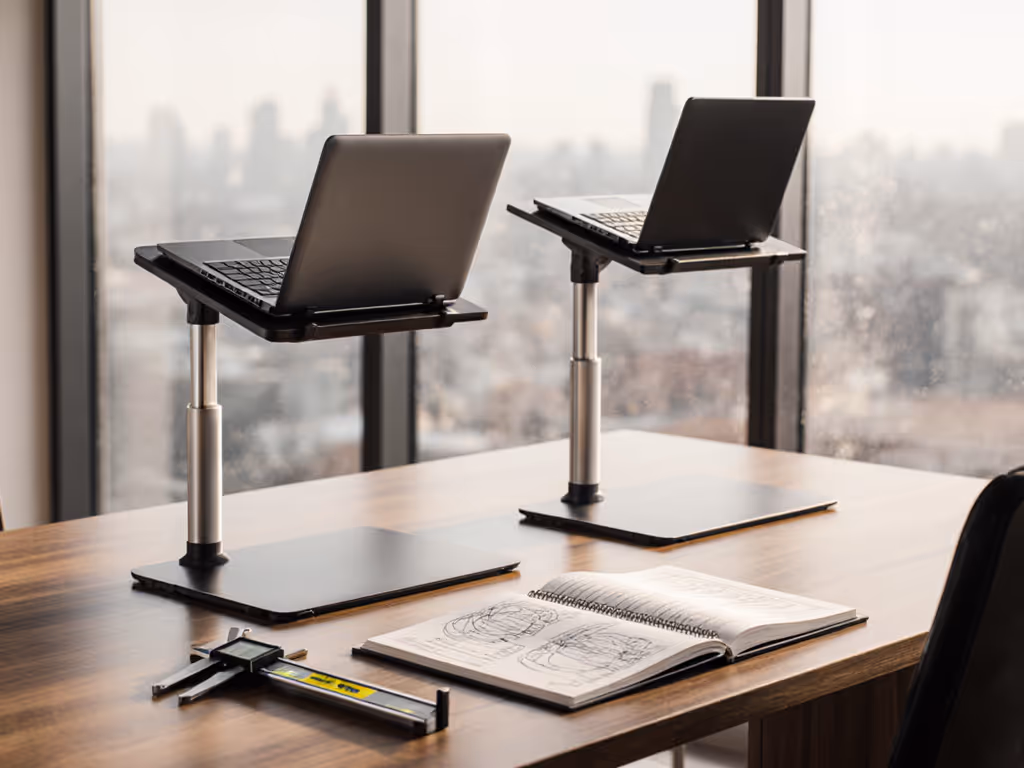
Finding Your True Comfort Range: Beyond One-Size Promises
Most brands advertise "fits all" claims, but true ergonomics requires personalization. Your comfort range is not about maximum height, it is the span where your screen stays at eye level while maintaining neutral wrist posture when typing on an external keyboard.
Try this measurement trio:
- Eye height: Sit normally, measure from desk to center of eyes
- Screen center: Measure from desk to center of your laptop screen when closed
- Lip height: Measure your stand's raised lip (prevents sliding), this adds effective height
The difference between #1 and #2 is your required lift. Subtract your keyboard thickness (typically 0.75 to 1 in) to ensure your typing position does not force wrist extension. This creates your true comfort range, the specific elevation window where both viewing and typing feel natural.
When I helped Ben (6'4") set up his home office, his required lift was 11 in, far beyond most "adjustable" stands' effective range. We found a model with 7.3 to 9.3 in settings that, when paired with a 2 in monitor riser for his external display, created his perfect zone. For petite users (under 5'3"), many stands sit too high even at minimum settings, look for models with 4.6 in minimum heights rather than 6 in or more.
Your 5-Minute Setup: Quick Wins for Any Workspace
Here is my stepwise measurement workflow for laptop stand workstation success (no tools needed beyond a ruler or credit card, 3.37 in long):
- Measure your desk: Note height (standard 28 to 30 in)
- Measure your eye line: Sit in your chair, measure from desk to eyes
- Calculate needed lift: Eye height minus screen center height (when laptop is closed)
- Check stand specs: Verify min/max height and stability ratings at your needed elevation
- Test compatibility: Place stand on desk, adjust to needed height, ensure it fits your space
These five minutes prevent five weeks of shoulder strain and return shipping fees.
For shallow desks (under 24 in depth), prioritize stands with forward-sloping bases that keep your laptop centered. Standing desk users need at least 3 in of additional lift beyond seated requirements, measure both positions. Get sit-stand specifics in our Standing Desk Laptop Stand guide. And remember: your camera belongs at true eye level, not "close enough." An inch too low creates that unflattering up-the-nose angle that undermines your professionalism on calls.
Final Ascent: Your Actionable Next Step
You do not need another generic "top 5" list, you need a personalized solution based on your measurements. Start with what matters: your body, your desk, your laptop. In the next five minutes:
- Grab any straight edge (ruler, book, credit card)
- Measure your seated eye height above your desk
- Measure your current screen center height
- Calculate the difference (your required lift)
Armed with this number, you will immediately eliminate stands that cannot meet your needs, no more guessing, no more returns. The right height adjustable laptop stand is not about maximum elevation; it is about finding your stable, cool, eye-level sweet spot where quick wins become permanent comfort. When your setup fits your measurements, not marketing claims, you will work longer, type easier, and feel better, proving that the most reliable ergonomic upgrade is not magic, it is math.
Start measuring, not wishing. Your perfect workstation elevation awaits.
Related Articles