Stop Wrist Pain: Ergonomic Laptop Stand Setup Guide
By Maya Okafor • 25th Oct

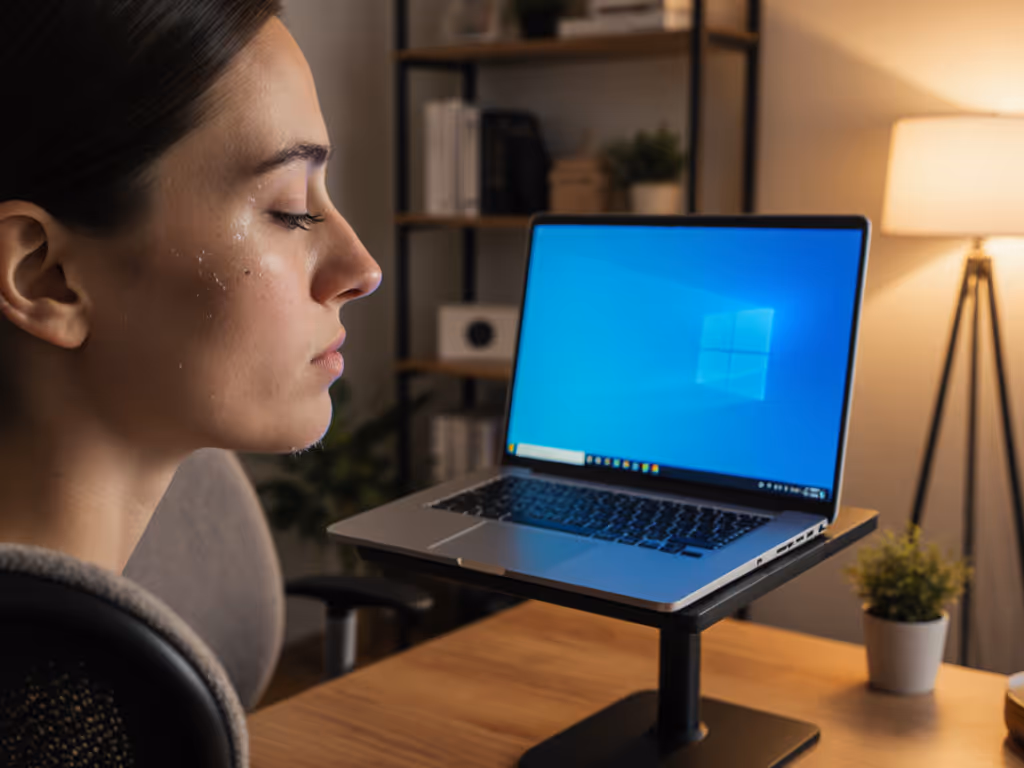
If you've ever felt tingling in your fingers or burning in your forearms after a long work session, your wrist health laptop setup is likely the culprit. The solution isn't just any ergonomic laptop stand (it is one calibrated to your body and desk). Forget guesswork: I'll show you how to measure once and eliminate wrist strain forever. Confidence starts with numbers you can collect in five minutes.
Why Wrist Pain Happens (And Why Most Stands Fail)
When your keyboard sits too high, your wrists bend downward (a position called extension). Hold this for hours, and pressure builds on the median nerve in your carpal tunnel. Ouch. But here's the twist: raising your laptop alone won't fix it—you need a complete ergonomic workstation to align screen and keyboard together. If you lift the screen without adjusting your keyboard height, you'll trade neck strain for wrist pain. The fix requires two precise measurements:
- Your seated elbow height (where your forearm rests flat)
- Your laptop's closed thickness (yes, measure it!)
Proven by ergonomic studies: A neutral wrist position reduces carpal tunnel pressure by 50%. But "neutral" means your natural hand alignment (not a generic diagram).
The Domino Effect of Bad Measurements
I once helped a designer whose "ergonomic" stand gave her wrist pain. Why? She'd bought a fixed-height stand based on her friend's height. Her elbows sat 2 inches lower than his. Every keystroke forced her wrists into extension. Ten minutes of measuring (plus a stack of books as a temporary keyboard riser) fixed her immediately. Start with measurements, not vibes (find your beginner-friendly fit).
Your 5-Minute Measurement Workflow
Grab a tape measure and a paperback book (any thickness). Do this at your actual workspace (not your kitchen table). If you're shorter or taller than average, see our fit guide by body type to pick a stand that actually reaches your numbers.
Step 1: Measure Your Seated Elbow Height (The Keyboard Anchor)
- Sit in your work chair, feet flat on the floor.
- Rest your forearm on your desk, palm down, as if typing.
- Measure from desk surface to bottom of your elbow (where it meets your forearm).
- Typical range: 6-10 inches (petite users: 6-7.5"; tall users: 8.5-10").
Diagram-in-words: Imagine your elbow is a hinge. Your forearm should form a straight line to your knuckles (no upward or downward bend). That's your neutral wrist position.
Step 2: Measure Your Laptop's Closed Thickness (The Hidden Variable)
- Close your laptop.
- Place the paperback book beside it on your desk.
- Measure from desk surface to top of laptop (through the book's spine for stability).
- Why the book? It mimics keyboard thickness when typing! Without it, you'll underestimate lift needed.
| Laptop Size | Avg. Closed Thickness | Your Measurement |
|---|---|---|
| 13-14" | 0.6-0.8" | ________ |
| 15-16" | 0.8-1.0" | ________ |
| 17"+ | 1.0-1.3" | ________ |
Step 3: Calculate Your Magic Number
Keyboard height needed = Elbow height - Laptop thickness
Example: If your elbow height is 8.5" and laptop thickness is 0.9", you need an 8.5" - 0.9" = 7.6" keyboard lift. This is your arm positioning guide baseline. For exact dimensions tailored to your desk and height, use our laptop stand height calculator.
Choosing Your Stand: The Comfort Range Method
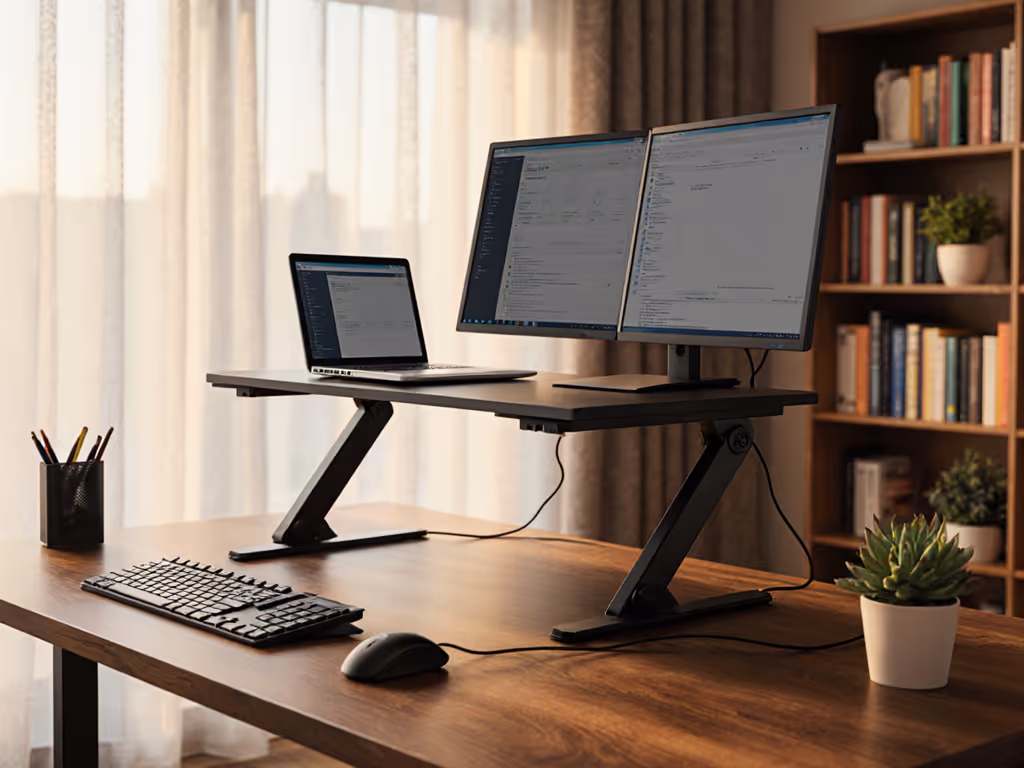
Now we translate measurements into action. Ignore "one-size-fits-all" claims. Look for stands with a comfort range spanning your magic number: Using a standing desk? Get sit-stand targets in our standing desk laptop stand guide for zero-wobble height transitions.
- Minimum height ≤ Your magic number (e.g., 7.6")
- Maximum height ≥ Your magic number + 2" (for standing desk flexibility)
Critical Adjustment Checkpoints
| Feature | Why It Matters for Wrists | Measurement-Driven Test |
|---|---|---|
| Height Range | Ensures keyboard sits at elbow height | Does min/max include your magic number? |
| Tilt Stability | Prevents wobble that forces wrist micro-adjustments | Press down mid-laptop, does it bounce? |
| Deck Depth | Stops laptop from sliding forward (straining fingertips) | Must fit 1" behind your laptop's hinge |
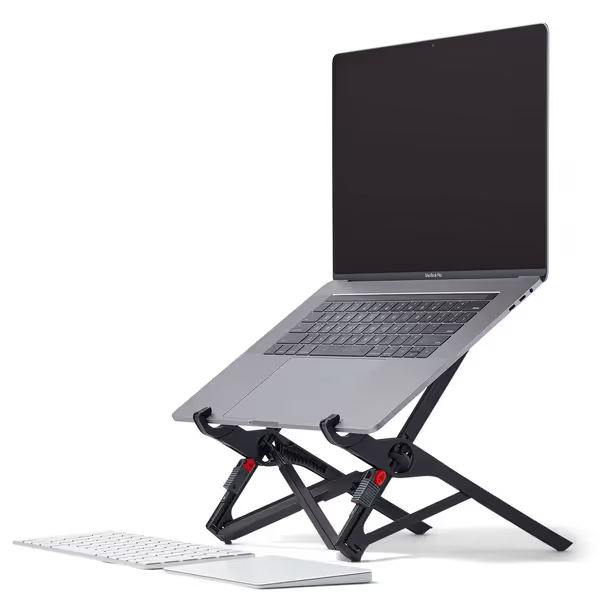
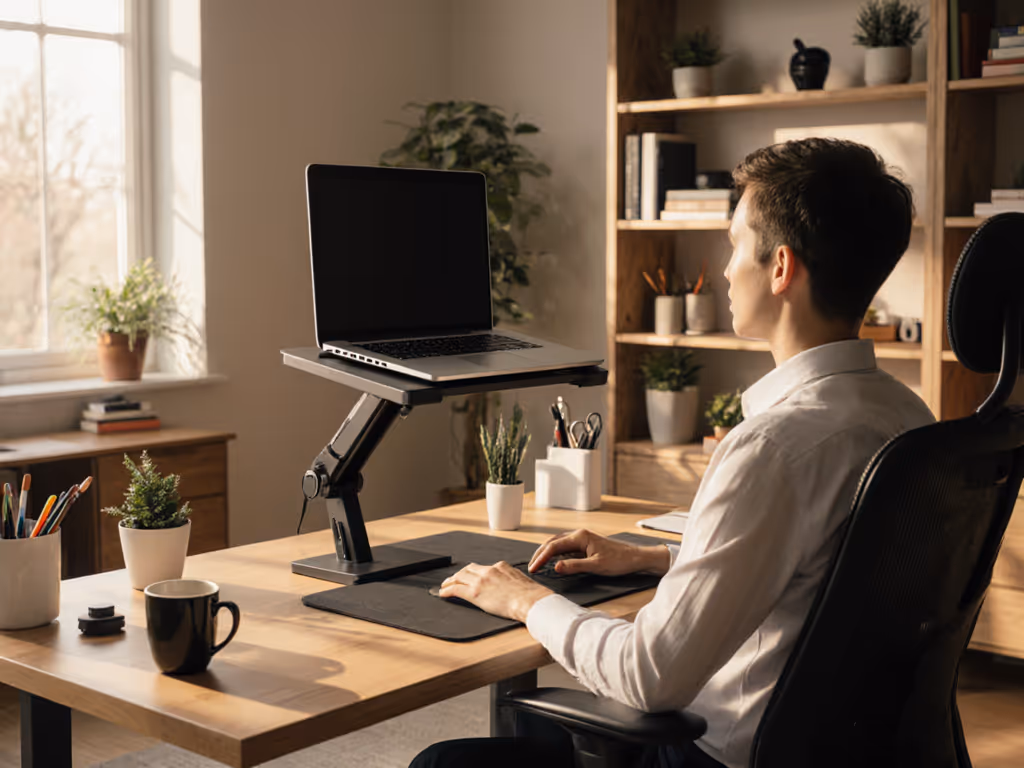
Roost Laptop Stand
Elevates your laptop to eye-level for superior ergonomics and portability.
$89.95
Adjustable Lift6–14 inches (7 settings)
Adjustable Lift6–14 inches (7 settings)
Pros
Eliminates neck/shoulder strain with precise eye-level screen height.
Ultra-portable, compact, and stable for hybrid work setups.
Improves video call aesthetics by raising camera to eye-level.
Cons
Premium price point compared to other stands.
Requires an external keyboard and mouse for ergonomic typing.
Customers find this laptop stand to be the best in the world, with a sturdy design featuring rubber bits that feel surprisingly stable. They appreciate its lightweight construction, extremely compact size when folded, and portability, making it great for travel. The height adjustment is praised for being natural and ergonomic, and customers like how it looks better in video streams. While some customers consider it well worth the money, others find it very pricey.
Customers find this laptop stand to be the best in the world, with a sturdy design featuring rubber bits that feel surprisingly stable. They appreciate its lightweight construction, extremely compact size when folded, and portability, making it great for travel. The height adjustment is praised for being natural and ergonomic, and customers like how it looks better in video streams. While some customers consider it well worth the money, others find it very pricey.
Why this matters: The Roost Laptop Stand's 7 height settings (6-14") cover 95% of users' magic numbers. Its engineering means no wobble, critical for carpal tunnel prevention since unstable stands make you grip the keyboard tighter.
Quick Wins: Immediate Fixes for Existing Stands
No time to buy? Try these measured hacks:
- Too high? Slide a thin notebook under your keyboard (not your wrists!) to drop height 0.5".
- Too low? Stack hardcover books only under your laptop base (not the keyboard). Target 0.5" increments.
- Wobble fix: Place a folded microfiber cloth under stand legs. Adds grip without crushing stability.
Remember: Never bend wrists upward to reach a low keyboard. That strains tendons more than extension!
Avoiding the "Ergonomic Trap"
Most wrist health laptop setup fails happen because people prioritize screen height over keyboard height. Yes, your eyes should be level with the top third of the screen, but if achieving that forces your wrists downward, you've swapped one injury for another.
The golden rule: Screen height = secondary to neutral wrists. If your stand lacks height range:
- Lower the stand
- Add an external keyboard (best for heavy typists)
- Then adjust stand height for eye level
This sequence delivers quick wins where one change solves both neck and wrist pain. I've seen remote workers fix months of discomfort in 10 minutes by measuring once and stacking books strategically.
Your Action Plan: From Measurement to Relief
- Measure today (takes 5 minutes, do it now!)
- Verify your stand's comfort range covers your magic number
- Add external peripherals only if your stand can't hit both keyboard height + eye level
Stop diagnosing wrist pain with band-aid fixes. When you know your numbers, every stand choice becomes obvious. And that's when ergonomic laptop stand setups stop feeling like puzzles, and start feeling like you.
Ready for pain-free typing? Grab your tape measure. Your wrists will thank you by tomorrow.
Related Articles