Ergonomic Laptop Stands for Scoliosis
By Maya Okafor • 15th Feb
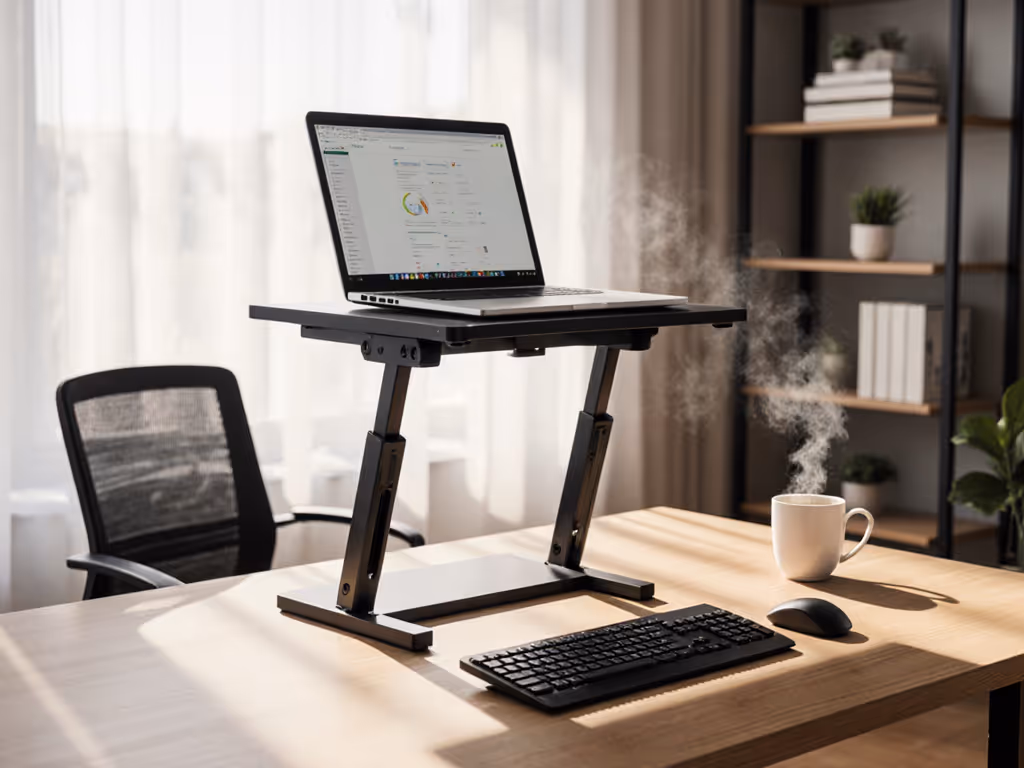
If you have scoliosis and spend hours each day hunched over a laptop, an ergonomic laptop stand tailored to your body's needs can reduce strain on your spine and shoulders, but only if you choose one that matches your specific measurements. Before you invest in any stand, understand that better spinal curvature ergonomics starts with collecting three numbers: your eye height from the desk, your natural desk height, and your laptop thickness. Confidence starts with numbers you can collect in five minutes, and these three numbers will guide every choice you make next.
Why Scoliosis and Laptop Work Don't Mix
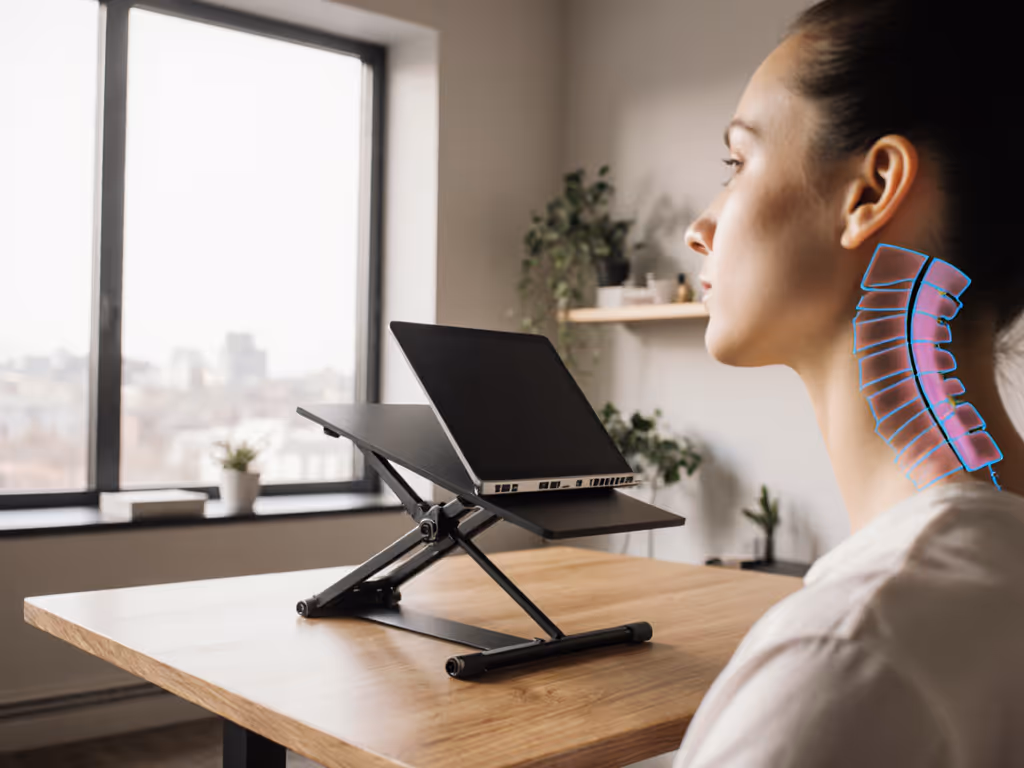
A typical workday at a laptop involves looking down at a screen, which creates what researchers call a 45-60 degree neck bend[3]. Start with the science of ergonomic neck posture to see how screen height reduces strain. For someone navigating scoliosis, this posture compounds the challenge: your spine already follows a curved path, and a poorly positioned screen forces compensatory strain in your neck, shoulders, and upper back[1][2].
When your laptop screen sits too low, your head tilts forward and down. That weight (roughly 10-12 pounds) pulls on muscles and ligaments, magnifying discomfort[1]. Studies confirm that prolonged laptop use without proper elevation leads to measurable increases in neck, shoulder, and lower-back discomfort[5]. For you, the stakes are higher. The goal isn't perfection (scoliosis cannot be "corrected" by furniture). Instead, the goal is a spinal alignment workstation setup that minimizes asymmetric loading and keeps your neck and upper spine in a neutral, restful position for as many hours as possible.
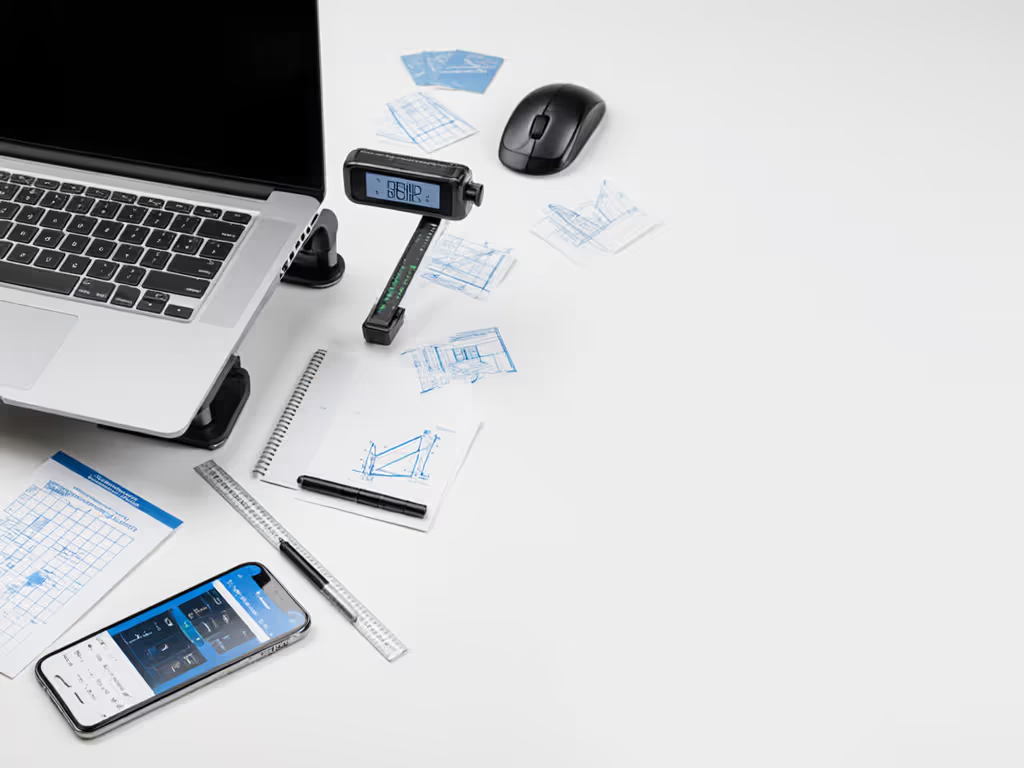
The Three-Measurement Method: Your Foundation
Skip the guesswork. Measure once, choose right.
Measurement 1: Eye Height from Your Desk
Sit at your desk in your normal work posture. Imagine a horizontal line at eye level. How high is that line above the desk surface? Use a ruler or tape measure; measure from the desk to the corner of your eye. Write this number down. A typical range is 18-28 inches, depending on your height and chair[3][4]. Use our laptop stand height calculator to convert this number into a precise target height.
Why this matters: Your spinal alignment workstation begins here. When your screen top sits at or just below eye level, your neck stays neutral, neither tilted up nor forward[1][3]. This is the single most important adjustment for reducing neck strain.
Measurement 2: Your Desk Height
Measure from the floor to the top of your desk surface. Write it down. Standard desks are 28-30 inches; some are 29 or 31.
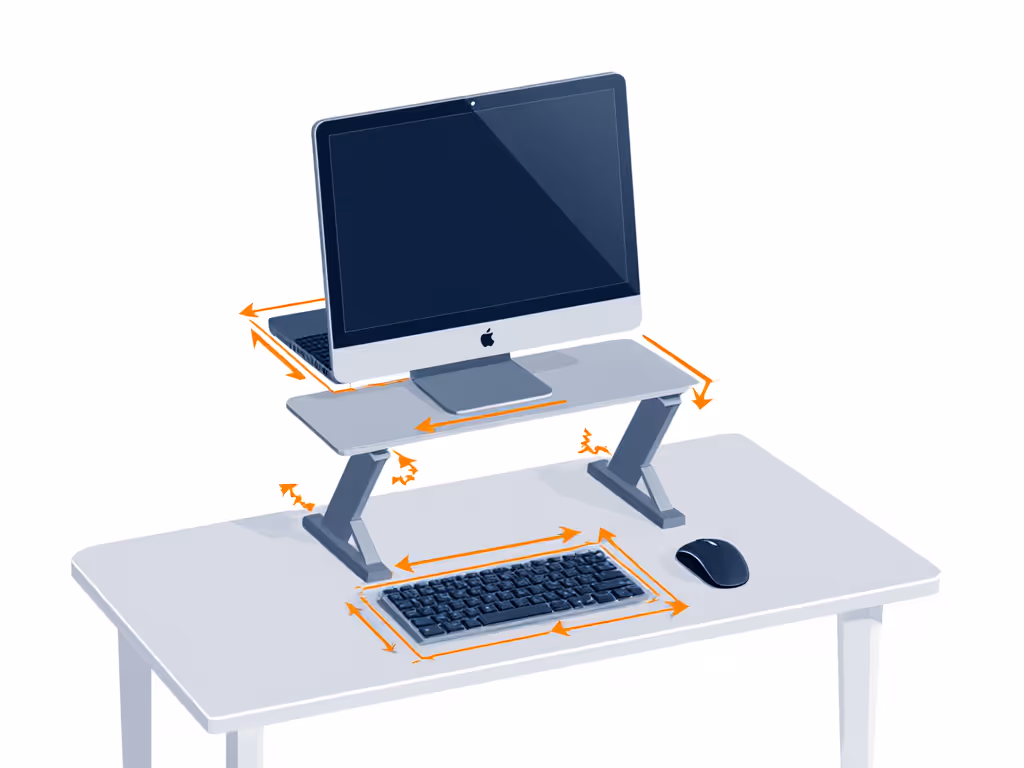
Why this matters: Your stand must lift your laptop screen to eye level without pushing it so high that your elbows float away from your torso. If your desk is 29 inches and your eye height is 22 inches above the desk, your stand needs to raise the laptop by roughly 4-6 inches, enough to close the gap, but not so much that your wrists angle sharply upward when you type.
Measurement 3: Your Laptop Thickness
Measure from the bottom of your laptop to the top of the screen when it's fully closed. A typical 13-15 inch laptop is 0.5-0.8 inches thick.
Why this matters: When your laptop sits on a stand, the stand raises the bottom of the device; the screen rises by that amount plus the stand's lift. Knowing your laptop's thickness helps you predict exactly where the screen will end up. If your stand lifts 6 inches and your laptop is 0.7 inches thick, the top of your screen rises 6 inches from the desk surface (not from the stand's base).
Asymmetric Posture Support and Spinal Alignment
Scoliosis means your spine curves naturally, often in an S or C shape. A standard upright posture may feel forced or uneven. The goal of an ergonomic laptop stand is not to "straighten" you (that's neither possible nor helpful), but to support a curvature-specific positioning that feels sustainable.
When your screen is at eye level, your head sits directly above your shoulders, and your upper back doesn't have to overcompensate[1][2][4]. This neutral position reduces the asymmetric load that scoliosis already creates. Research confirms that when participants used height-adjustable stands, their neck, shoulder, and lower-back discomfort dropped significantly, with the most improvement in regions of existing strain[5].
Many stands also allow tilt adjustment, tilting the screen slightly back or forward. Experiment: a small tilt often feels more comfortable than a flat screen, especially if you have upper-thoracic curvature. Adjustable stands give you this flexibility without guesswork.
Key Features That Matter for Spinal Alignment
Adjustable Height Range
Your stand's minimum and maximum height determine its "comfort range." Calculate yours: from Measurement 1 (eye height), subtract Measurement 2 (desk height). Add a 2-inch buffer for sitting posture variation and standing-desk use if you alternate positions. A stand that adjusts 4-8 inches covers most users; some stands go higher[1][4]. If you're choosing between adjustable and fixed-height designs, see our adjustable vs fixed stand guide for pros and cons.
Stability Under Load
Wobble while typing forces your body to brace and correct, undermining the benefit of better screen height. Look for stands with a wide, heavy base or clamping mechanisms that lock the laptop firmly[5]. Weight capacity should exceed your laptop's weight by at least 50%.
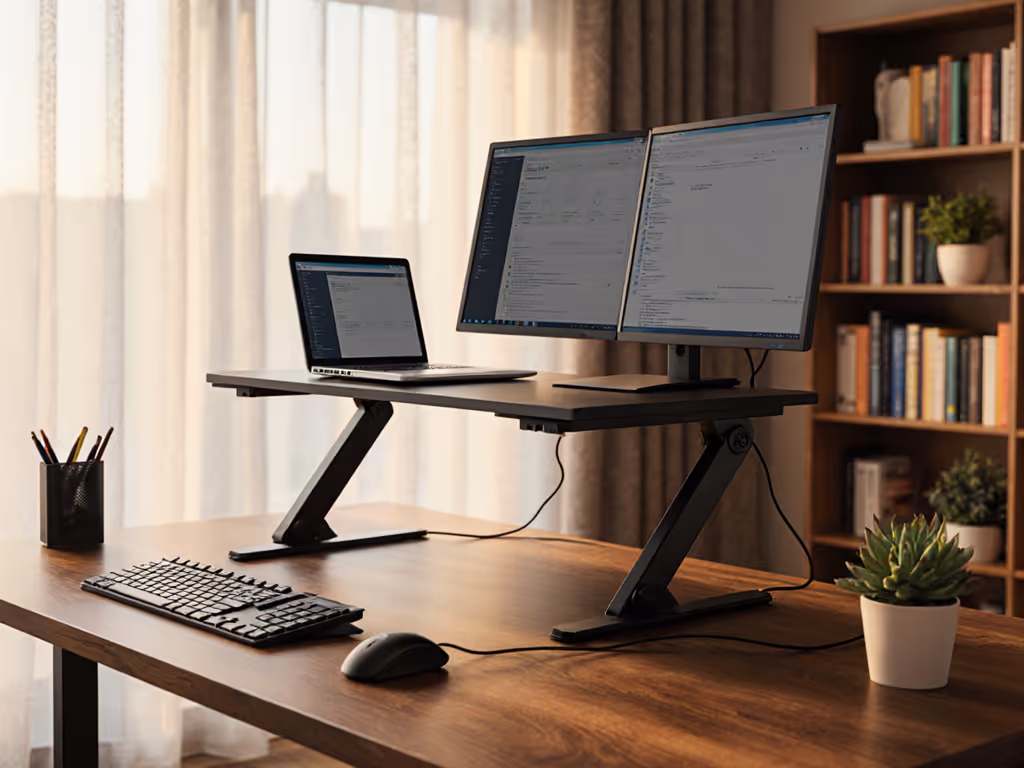
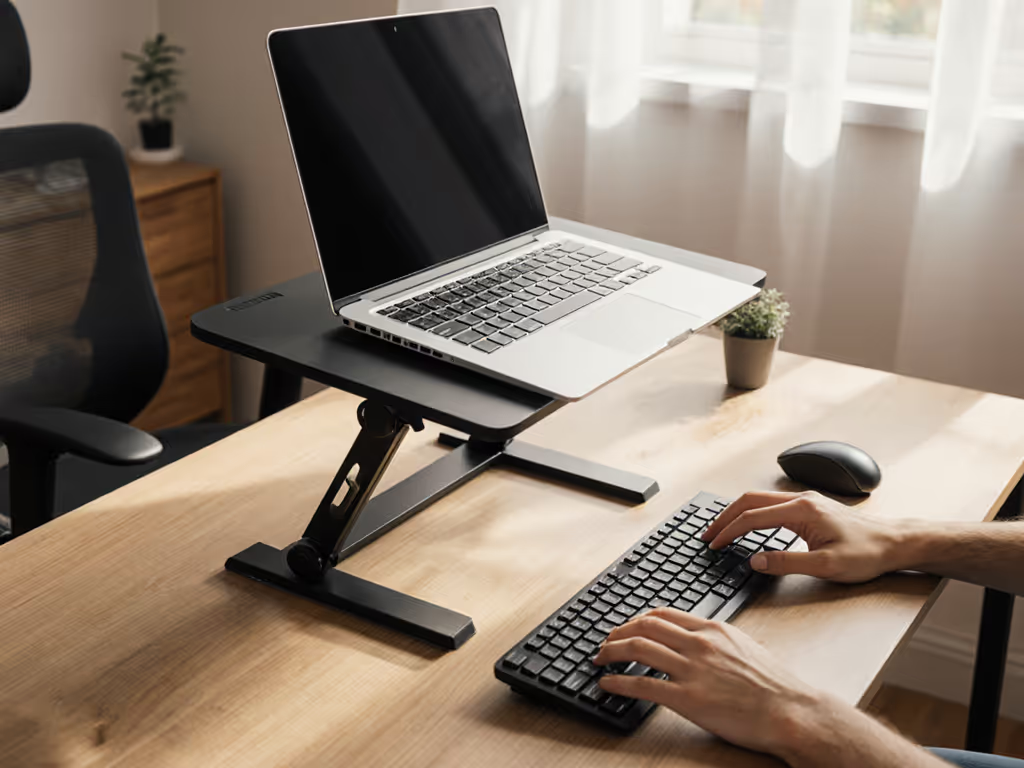
Keyboard and Mouse Positioning
Raising your laptop creates a secondary challenge: your keyboard now sits too high. The solution is simple: use an external keyboard and mouse placed on your desk or on a shallow keyboard tray below screen level. Your wrists should float at desk height, elbows close to your torso[3][4]. This pairing (a stand for the screen, a separate keyboard for your hands) is the standard ergonomic compensation technique that unlocks comfort. Without it, raising your laptop only trades neck strain for wrist strain.
Cooling and Airflow
Most stands create airspace beneath your laptop, allowing heat to escape. This matters: thermal throttling forces your CPU to slow down, which can disrupt focus during long sessions[1][6]. A stand with an open, slatted base is better than a solid platform.
A Practical Example: Making the Numbers Work
A colleague new to remote work (and newly diagnosed with scoliosis) asked why her shoulders ached despite switching to a sit-stand desk. We measured: her eye height was 24 inches, her desk was 29.5 inches, and her laptop was 0.6 inches thick. The gap was 5.5 inches. We found a 6-inch-adjustable stand that locked firmly and paired it with a compact wireless keyboard. Within a week, her neck and shoulder discomfort dropped noticeably. The stand cost less than a single visit to a physical therapist, and it worked because we started with measurements, not vibes, and found her beginner-friendly fit.
Selecting a Stand: Practical Guidance
- Measure first: Use your three numbers to calculate the exact lift you need.
- Choose adjustable heights: Pick a stand whose range includes your target screen position, plus 1-2 inches for flexibility.
- Prioritize stability: Read reviews for wobble and load capacity. Scoliosis means your body is already working harder to stay upright; a wobbly stand defeats the purpose.
- Pair with an external keyboard: Non-negotiable. Your hands and wrists deserve the same care as your spine.
- Test the tilt angle: If the stand allows, try a 10-15 degree tilt back. Many people find it more comfortable than fully upright.
- Check cooling design: Ensure the base is open or slatted, not a solid platform.
What Comes Next
Your stand is step one. To complete your spinal alignment workstation, add an external keyboard and mouse, ensure your chair supports your lower back, and take a 5-minute break every hour to stretch and move. These layers work together. For a step-by-step blueprint, follow our complete ergonomic laptop workstation guide. If discomfort persists after four weeks of correct setup, consult your healthcare provider or a physical therapist; they can assess your specific spinal curvature and recommend targeted exercises.
Measurement-based setup removes uncertainty and builds confidence. You're not guessing whether a stand "might work," you are choosing one that matches your body's actual geometry. That's the difference between hope and results.
Related Articles