Laptop Standing Desk Setup: Ergonomic Comfort While You Wait
By Aisha Chen • 15th Mar
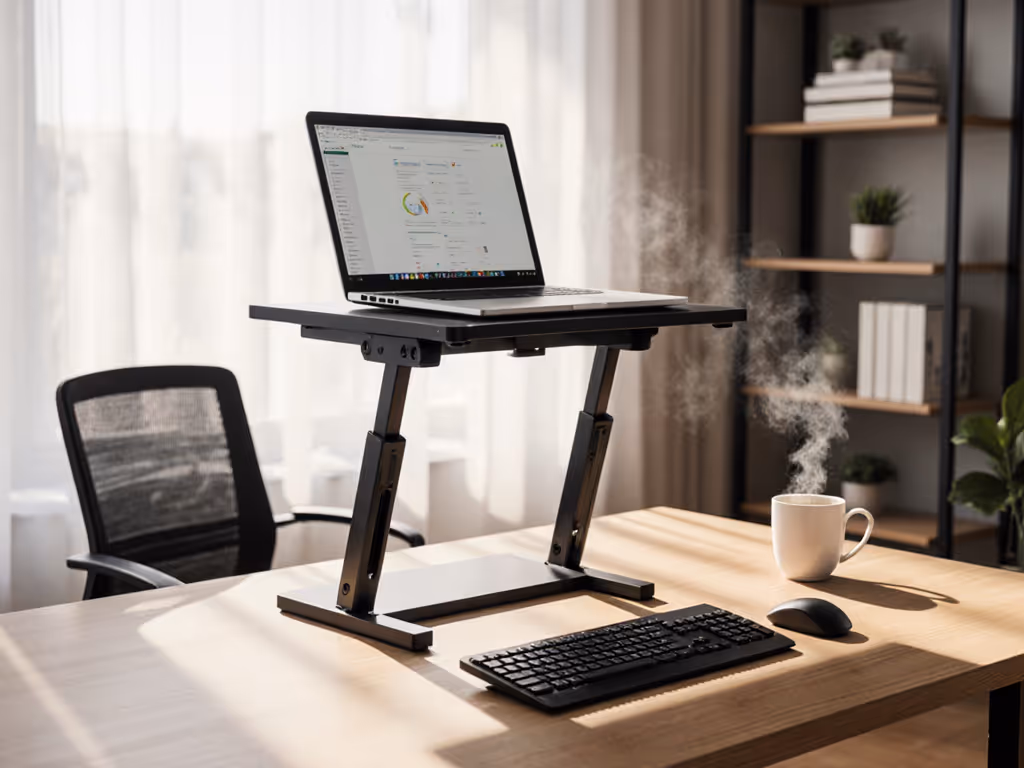
A laptop standing desk setup that stays stable and keeps your screen at true eye level can eliminate the slow-building neck and shoulder strain that creeps in after hours of work. The difference between a sloppy setup and a laptop adjustable height stand properly calibrated to your frame isn't glamorous, but it's measurable. Eye strain drops. Shoulder tension releases. And your posture holds through back-to-back calls without the forward-head slouch that reads on camera. This guide walks you through the ergonomic principles and measurement-driven adjustments that work for knowledge workers in offices, coffee shops, and hybrid schedules.
Why Posture Breaks Down at Standing Desks
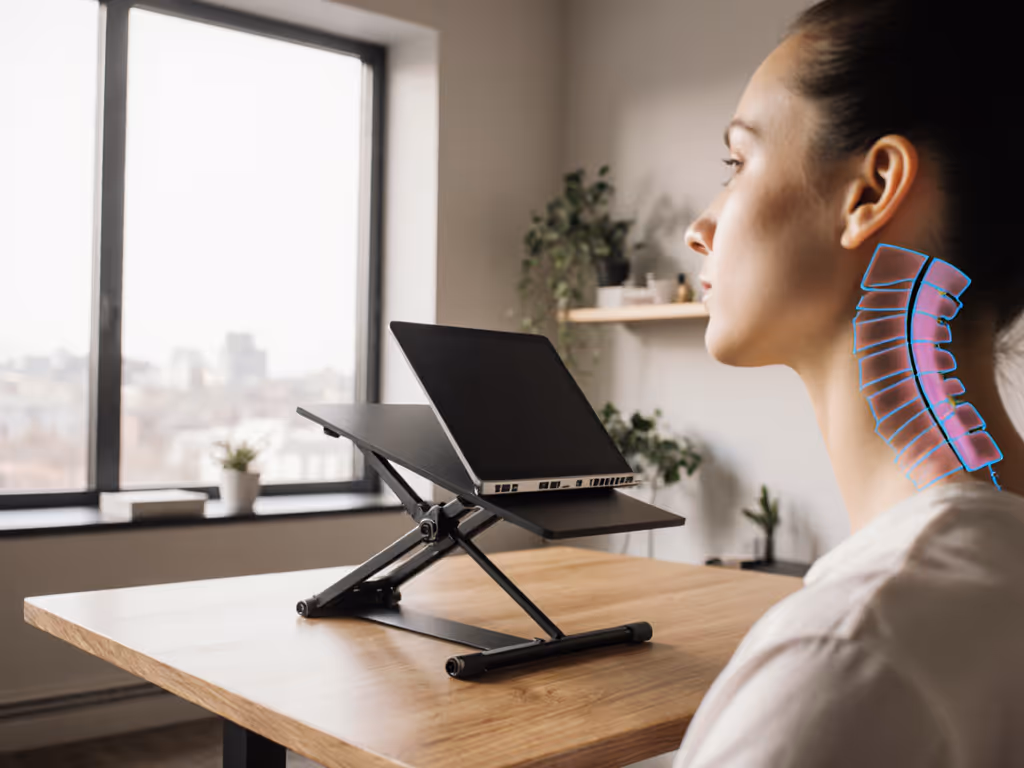
Laptops are built for portability, not eight-hour workdays. When your screen sits too low, your neck cranes forward, your shoulders hunch, and over time this creates the exact kind of chronic stiffness that derails focus and presence.[1] Standing desks add a second problem: if your desk height doesn't match your elbow angle, you're either shrugging into shoulder lock or slumping forward into wrist strain.[2] For a smooth sit-stand workflow, see our standing desk laptop stand guide.
The good news is simple: ergonomics is about alignment, not willpower. Your workspace should support your body's neutral posture, not force you to fight it all day. The bad news is that "neutral" requires precision. One inch too low or too high, and you're back to strain.
Laptops are designed for convenience, not long-term comfort.[1] But a properly adjusted stand lifts your screen to eye level, encourages upright sitting, and keeps your shoulders relaxed throughout the day (whether you're seated or standing).[1]
The Ergonomic Baseline: Four Measurements That Matter
Your setup success hinges on four anchor points. These aren't preferences: they're measurable thresholds supported by workplace safety research.
1. Monitor Height: Top of Screen at Eye Level
Your eyes should naturally align with the top third of your screen.[1] This means the top edge sits at or slightly below eye level, not below your chin, not at your forehead.[1][3] At this height, your neck stays neutral and relaxed. If the screen is too low, you'll crane forward. Too high, and you'll tilt your head back, straining your upper spine.
Distance from Face: 20-28 Inches
Your monitor should sit about an arm's length away, specifically, 20-28 inches from your eyes.[5] Too close causes eye strain and forces you to hunch. Too far and you'll lean forward to read. Mark this distance on your desk with tape if you're fine-tuning a new position. To dial in exact elevation, use our eye-level stand height calculator.
2. Elbow Angle: 90 Degrees
When your hands rest on the keyboard, your elbows should bend at roughly 90 degrees.[2] Your forearms stay parallel to the floor.[2] This posture prevents shoulder strain and distributes pressure evenly across your wrists and forearms. If your elbows are acutely angled (< 90°), you're gripping too high. Obtusely angled (> 90°), and you're typing downward into wrist extension (a fast track to RSI).
3. Wrist Position: Straight
Your wrists should remain straight while typing, not bent upward, not angled down.[2][5] This is non-negotiable. Bent wrists, even slightly, compound strain over hours. Keep the keyboard close enough that you're not reaching, and angled so your palms stay in line with your forearms.
4. Feet and Lumbar Anchor
Start with your chair. Sit with your feet flat on the floor and your knees at a 90-degree angle.[2] Your back should press firmly against lumbar support.[2] If your feet dangle, you transfer strain to your lower back and lose stability in your core. This foundation cascades upward: a solid chair position lets your desk height and monitor align cleanly without compensation.
Setup Checklist: From Seat to Screen (Time-Stamped)
Your setup time matters, especially if you're splitting between home, office, and client sites. A methodical sequence ensures nothing gets skipped, and adjustments become repeatable.
Step 1: Anchor Your Chair (2 minutes)
Sit fully back in your chair. Adjust the height so your feet lie flat and your knees form a 90-degree angle.[2] Your thighs should be parallel to the floor. If you have lumbar support controls, dial them in so your lower back feels supported, not flat.
Step 2: Set Desk Height (3 minutes)
With your feet flat and knees at 90°, rest your hands on the desk surface with your elbows bent at 90 degrees. Your forearms should be parallel to the floor and your wrists straight.[2] This is your target desk height. If you're using a standing desk, lock this in as your sitting height.
If you're using a fixed desk that's too high or too low, a keyboard tray or riser can bridge the gap (but measure first). A riser that's 1.5 inches too high will compound strain by day's end.
Step 3: Position Your Monitor (2 minutes)
Place your laptop (or external monitor) so the top of the screen lands at or slightly below eye level and sits 20-28 inches from your face.[5] If using an external monitor, the center should align with your nose; you shouldn't rotate your head to see the main content.[5]
A laptop adjustable height stand or simple riser gets you there faster than propping books. Measure the lift you need: if your laptop screen sits 4 inches below eye level, you need a stand that lifts at least that much.
Step 4: Test Your Posture (1 minute)
Type a few sentences. Your shoulders should feel relaxed. Your neck should stay neutral, not craning forward, not tilted back. Your wrists should remain straight. If something feels off, resist the urge to "adjust your posture"; instead, adjust your setup. The setup should fit your body, not the other way around.
Total setup time: ~8 minutes for a seated workstation. ~12 minutes if you're switching between sitting and standing heights.
Scaling for Your Height: The Range Formula
Ergonomic "standards" work for the average 5'8" professional. If you're significantly taller or shorter, off-the-shelf desk heights won't land at your elbow height. Use this as a reference:
- Under 5'5": Your optimal desk height is 36-38 inches.[4]
- 5'6"-6'0": Your optimal desk height is 39-42 inches.[4]
- Over 6'1": Your optimal desk height is 43-47 inches.[4]
Once you know your target desk height, work backward to your laptop adjustable height stand specs. If your desk is 40 inches and your seated elbow height is 28 inches, you need a stand that lifts your screen 12+ inches to land at eye level.
Do not eyeball this. Measure your seated elbow height by sitting with proper posture and measuring from the floor to the crease of your elbow. Then measure your desk. The gap is your lift requirement.
DIY Standing Desk Alternatives and Height Extension Techniques
If you're traveling or in a temporary workspace, you can improvise height with height extension techniques that avoid wasted setup time. A small riser, a stack of hardback books, or a shallow box under your laptop buys you critical inches without the bulk of a full stand.
Key constraint: stability under load. A wobbling setup forces your wrists and shoulders to stabilize, which defeats the purpose. Books are free but precarious. A firm riser rated for your laptop's weight is the better trade-off for professional presence and long-term comfort.
Pack lighter, set faster, look sharper on every call.
When I was deep in a 14-hour itinerary (jumping between airports and client lounges), I learned this the hard way. An ultralight stand with a sharp corner bruised my shoulder after hours of reaching around it, and a gate-bench setup that took three minutes to deploy ate into time I needed for a choppy call prep. After that, I stopped optimizing for "light" alone and started optimizing for setup time and ergonomic stability together. A slightly heavier stand that deploys in two minutes and keeps your wrists straight beats a marginally lighter one that's finicky to adjust.
Common Adjustment Mistakes
Placing the Laptop Too High or Too Low
Your eyes should naturally align with the top third of your screen.[1] If your laptop sits dramatically higher than eye level, you tilt your head back and strain your upper spine and neck. If it's below, you crane forward (the most common posture error among laptop workers).
Ignoring Chair and Desk Harmony
An ergonomic laptop setup depends on the entire workspace.[1] Your chair height and desk height must be calibrated together. If your desk is right but your chair is too high, your feet dangle and your posture collapses. Both matter. Adjust one, retest the other.
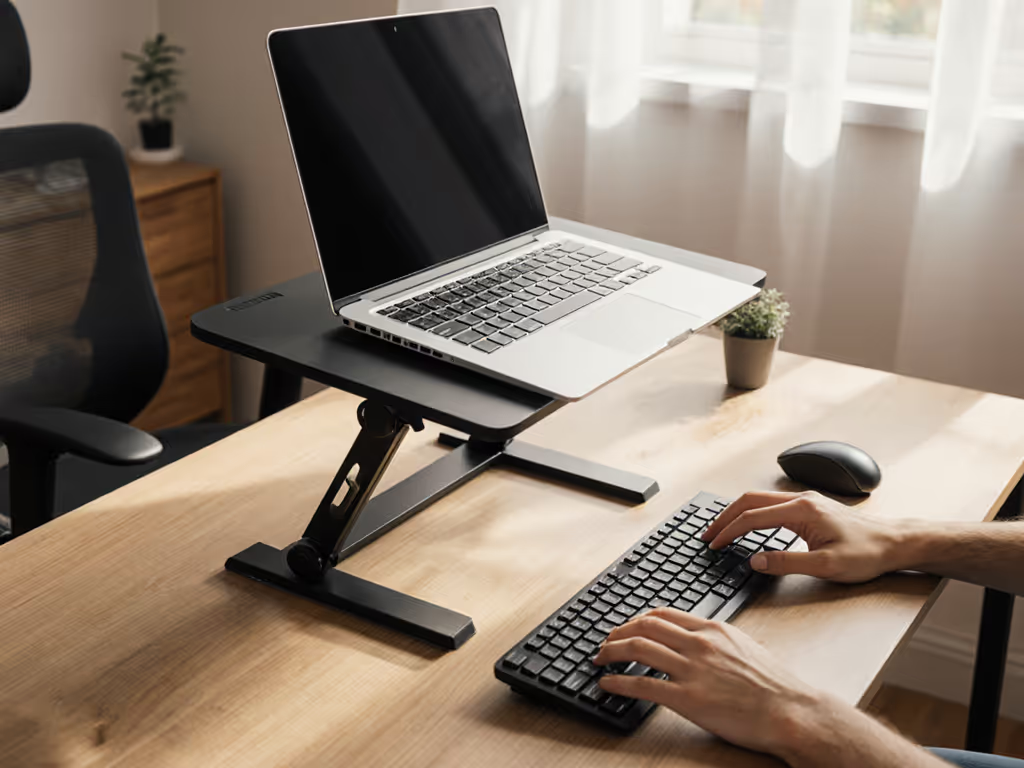
Skipping Keyboard and Mouse Positioning
If you raise your laptop to eye level but then type directly on the keyboard, you've solved the screen height problem only to create a wrist problem. Use an external keyboard and mouse, positioned so your forearms stay parallel to the floor and your wrists stay straight.[5] This is especially critical for knowledge workers spending 6+ hours typing per day. Protect your hands with our wrist pain ergonomics guide.
Forgetting Movement Breaks
No setup, however perfect, survives eight hours of static posture. Movement breaks every 30-60 minutes support long-term comfort and productivity.[1] Standing desks are tools for variation, not all-day standing. Alternate between sitting and standing in 30-60 minute increments.[5]
Camera Readiness and Video Call Ergonomics
Your laptop standing desk setup also shapes how you appear on camera. If your laptop sits too low, you're framing yourself from below, unflattering angles that read as less professional. At true eye level (with the camera lens at or slightly above eye level), you present with better posture, better lighting (no under-nose shadows), and better presence.
For frequent video callers and content creators, this matters. A stand that lifts your screen to eye level also lifts your camera, a practical win that's hard to quantify but immediate on screen. For on-camera polish, follow our eye-level Zoom camera guide.
Workstation Improvisation for Travel and Hybrid Schedules
Immediate ergonomics fix principles apply whether you're home, in an office, or in a coffee shop. Measure once. Use a portable riser or adjustable stand. Keep your setup ritual under five minutes. Travel often? Pack one from our best travel laptop stands to cut setup time without wobble. When you're moving between three locations per week, repeatability beats optimization.
A collapsible riser or compact stand earns its weight when it cuts your setup time from twelve minutes to three (especially on mornings when you're already late for a call). The ergonomic payoff (neutral neck, straight wrists) is the same. The cognitive load is lower.
Further Exploration
Your next step is measurement: sit down with a tape measure and identify your personal ergonomic baseline. Know your desk height, your seated elbow height, and your monitor distance. Once you have these numbers, stand or sit selection becomes a data-driven choice, not a guess.
If you're in a fixed workspace (home office, permanent desk), prioritize a laptop adjustable height stand that gives you at least ±2 inches of fine-tuning room around your calculated height. If you're hybrid or traveling, choose a lighter stand that deploys and adjusts in under five minutes, and test it in your actual environments before committing.
Optimizers with pain history should also consider an external keyboard and mouse as a system. A screen at eye level plus awkward wrist angles still loses. The full ergonomic picture requires all four anchor points aligned.
Ergonomic comfort isn't about buying the most expensive gear. It's about matching your setup to your body, your workspace, and your schedule, and doing it with enough precision that you're not fighting gravity all day. Start small. Measure twice. Adjust once. The payoff compounds over weeks and months in the form of clarity, stamina, and presence.
Related Articles